Tampilkan postingan dengan label cheese. Tampilkan semua postingan

Selasa, 17 Maret 2015

Turnip greens and halloumi salad with tahini and turmeric dressing

As with so many of the meals I cook, it all starts with a single ingredient, the inspiration if you will that’ll form the base of a complete dish. Sometimes it’s an intricate dish that may take hours to prepare and cook, and other times it’s a simple and quick one.


This time, it all started a few days ago when I bought a bunch of young turnip greens from the market. I didn’t know exactly what to do with them so they stayed in the fridge, almost neglected, until yesterday, when it suddenly hit me; I would make a meal out of a salad. I do this often, I love turning salads into main dishes. And so it happened.


I had halloumi in the fridge, cucumber that was leftover from a tzatziki I made the previous day and red onion, and then I began thinking about the dressing. I wanted something a bit different, more fragrant and earthy to counterbalance and complement the fresh flavors of the greens and cucumber. Tahini came to mind, an ingredient that is never absent from my kitchen, and turmeric. That was it.


I finely sliced the cucumber and the onion with my trusted mandoline, I whisked the ingredients for the dressing and grilled the halloumi in a hot pan until it was deliciously golden. The ingredients were tossed together, the deep orange-colored dressing was drizzled on top and a handful of toasted sesame seeds were sprinkled to decorate and add more flavor and texture to the salad.

That was yesterday’s dinner.


Young turnip greens, cucumber and red onion salad with grilled halloumi and a tahini and turmeric dressing

The classic turnip greens (turnip tops) are large, much like beetroot leaves. The ones I used in this recipe are young, small turnip greens from turnips grown specifically for their leaves.
Their flavor is slightly spicy and their stalks are tender. If you can’t find them where you live, you can substitute with baby spinach, rocket or tender beetroot leaves.
For those of you reading from Holland, they are called raapstelen.

This dressing is perfect on top of a grilled or baked piece of fish, on top of roast chicken, or mixed with simply boiled legumes like beans or chickpeas to give them flavor.


Yield: 2 main servings or 4 salad servings

Ingredients

for the tahini-turmeric dressing
60 ml (¼ cup) tahini
3½ Tbsp freshly squeezed lemon juice
2 Tbsp extra virgin olive oil
¾ tsp ground turmeric
¼ tsp cayenne pepper powder
Salt
Freshly ground white pepper

for the salad
150 g young turnip greens
120 g cucumber, with skin on, thinly sliced
Half red onion, very thinly sliced
250 g halloumi cheese
A handful of toasted sesame seeds

Special equipment: mandoline (optional)


Preparation

for the tahini-turmeric dressing
Add the tahini, lemon juice, olive oil, turmeric, cayenne, a little salt and white pepper in a small bowl and mix well using a wire whisk. Taste and add more salt if needed.

for the salad
Cut the halloumi into medium-thick slices and lightly oil them on both sides with olive oil. Heat a skillet or non-stick pan on medium heat and add the slices in one layer. Cook them for about 3 minutes on either side until golden.

Rinse well the turnip greens under cold running water, cut off the roots and drain in paper towels. In a large bowl, mix the turnip greens, cucumber and onion. Arrange on a plate and add the halloumi. Drizzle generously with the dressing and finish with the sesame seeds.
Serve immediately with fresh bread.

You can keep the tahini-turmeric dressing in the fridge for a couple of days. It will thicken in the fridge so leave it out on the counter for half an hour before you want to use it.
Also, the dressing may split. It is only natural because it contains tahini, which always splits. Don’t worry about it, just give it a good whisk before using.


Jumat, 28 Februari 2014

Feta saganaki

Living in the Netherlands, it often makes it difficult to remember some of the Greek holidays. For example it was only yesterday that I suddenly realized that this Monday will be Kathari Deutera (Clean Monday). Here, it is a working day so unfortunately I won’t be able to make lagana (traditional Greek flatbread consumed on Kathari Deutera) and prepare various seafood dishes. I will most probably have only time to make some fried calamari and mussels, hopefully.


At the beginning of this week though, I remembered that it was the week of Τυρινή / Tyrini (Cheese week), the third and last week of the Greek Carnival, when cheese, dairy products and pasta is traditionally consumed. Tyropita (cheese pie), galatopita (milk pie), galaktoboureko (semolina-based custard in phyllo), and all type of pasta dishes with a good grating of cheese like myzithra are the dishes of choice for us Greeks during Tyrini.


In keeping with tradition, I have been using cheese in different dishes throughout the week, something that admittedly I don’t need to try too hard to do since I am a cheese fiend, and if you have been reading my blog for a while you are surely familiar with my undying love for the tastiest Greek cheese of all, feta. So yesterday I made feta saganaki. (You can read here about what is the Greek saganaki).
I don’t normally use feta for saganaki, I prefer kefalotyri or graviera, but trying it after a long time, I realized how incredibly delicious and unique it is.


The saltiness of the feta with the creamy and crumbly texture, and the crispy, golden-brown crust that is formed around it, is strongly reminiscent of tyropita (cheese pie). The fastest-made tyropita that is, since it is made in less than ten minutes. Served with a good squeeze of lemon, or if you prefer a slightly different flavor profile with a drizzle of good Greek thyme honey, it is a first class mezes to have with a glass of ouzo.


Those of you Greeks out there who have forgotten the week of Tyrini, you still have time to make this saganaki. As for those of you who will fast during Lent, this is your last chance to have a proper cheese dish. Go for it.


P.S. I would like to thank from the bottom of my heart all of you who voted for me on theKitchn awards. I may not have won (I was third, which is awesome since I expected to be the last) but that is really unimportant because I am delighted and truly grateful for all your supportive comments and kind words.
Being happy for someone you don’t even know on a personal level requires generosity of soul, something that unfortunately these days is extremely rare, and you all have made me feel very special. You are the best!


Feta Saganaki (Fried Feta Cheese)

Use hard or semi-hard Greek feta in order for it to hold its shape during frying. Also, the double coating of the cheese with flour creates a thicker and crunchier crust.


Yield: enough for 2 people

Ingredients
1 piece of feta (170-200 g), not too thick (1½-2 cm)
1 cup all-purpose flour
Freshly ground white pepper
Virgin olive oil, for frying

Lemon, to squeeze on top

Special equipment: saganaki (small, round frying pan with two handles) or small frying pan


Preparation
In a wide and deep plate, add enough water to fill it. In another wide plate, add a cup of flour and a little freshly ground white pepper and mix. Don’t be tempted to add salt to the flour, because feta is a salty cheese.

Take the piece of feta (it should be moist but if it’s not, dip it to the plate filled with water for a couple of seconds, to moisten it) and then place in on the flour. Dredge the feta in the flour on all sides, making sure you coat it well. Gently tap the excess flour off.
Immediately place it in the plate filled with water and moisten it again, and then dredge it again in the flour on all sides. Gently tap the excess flour off.


Pour enough olive oil in your saganaki or small frying pan to completely cover the bottom and heat over medium-high heat. When the oil starts to shimmer and it has gotten really hot, add the feta.
Fry the cheese on one side for about 4 minutes or until it has taken on a golden-brown color, then turn it over carefully on the other side and fry it for another 4 minutes, or until it has taken on a golden-brown color.

Turn the heat off and take the cheese out of the pan using a spatula very carefully so it doesn’t break up. Place the cheese saganaki on a plate covered with paper towels in order to absorb the excess oil and then onto a serving plate.

Serve hot with a squeeze of lemon.

If you want to serve the fried cheese in the saganaki pan, then pour out the oil and serve.


Oh, and before I forget. Here are some dishes for Kathari Deutera:
Lagana (Greek Lenten Yeasted Flatbread)
Greek Fava (Yellow Split-Pea Purée)
Greek Braised Octopus with Short Pasta or "Htapodi me Makaronaki Kofto" and How to Clean Octopus
Htapodi Ksidato (Greek Octopus with Vinegar, Olive oil and Dried Oregano)
Sautéed Shrimps with Tahini and Garlic Sauce
Greek Mussel Pilaf or "Midopilafo" and How to Clean Mussels
Greek Beetroot Purée with Potatoes and Walnuts
Taramosalata
Melitzanosalata - Greek Smoky Eggplant Dip

And more Lenten recipes


Enjoy and have a good Kathari Deftera!


Senin, 23 Desember 2013

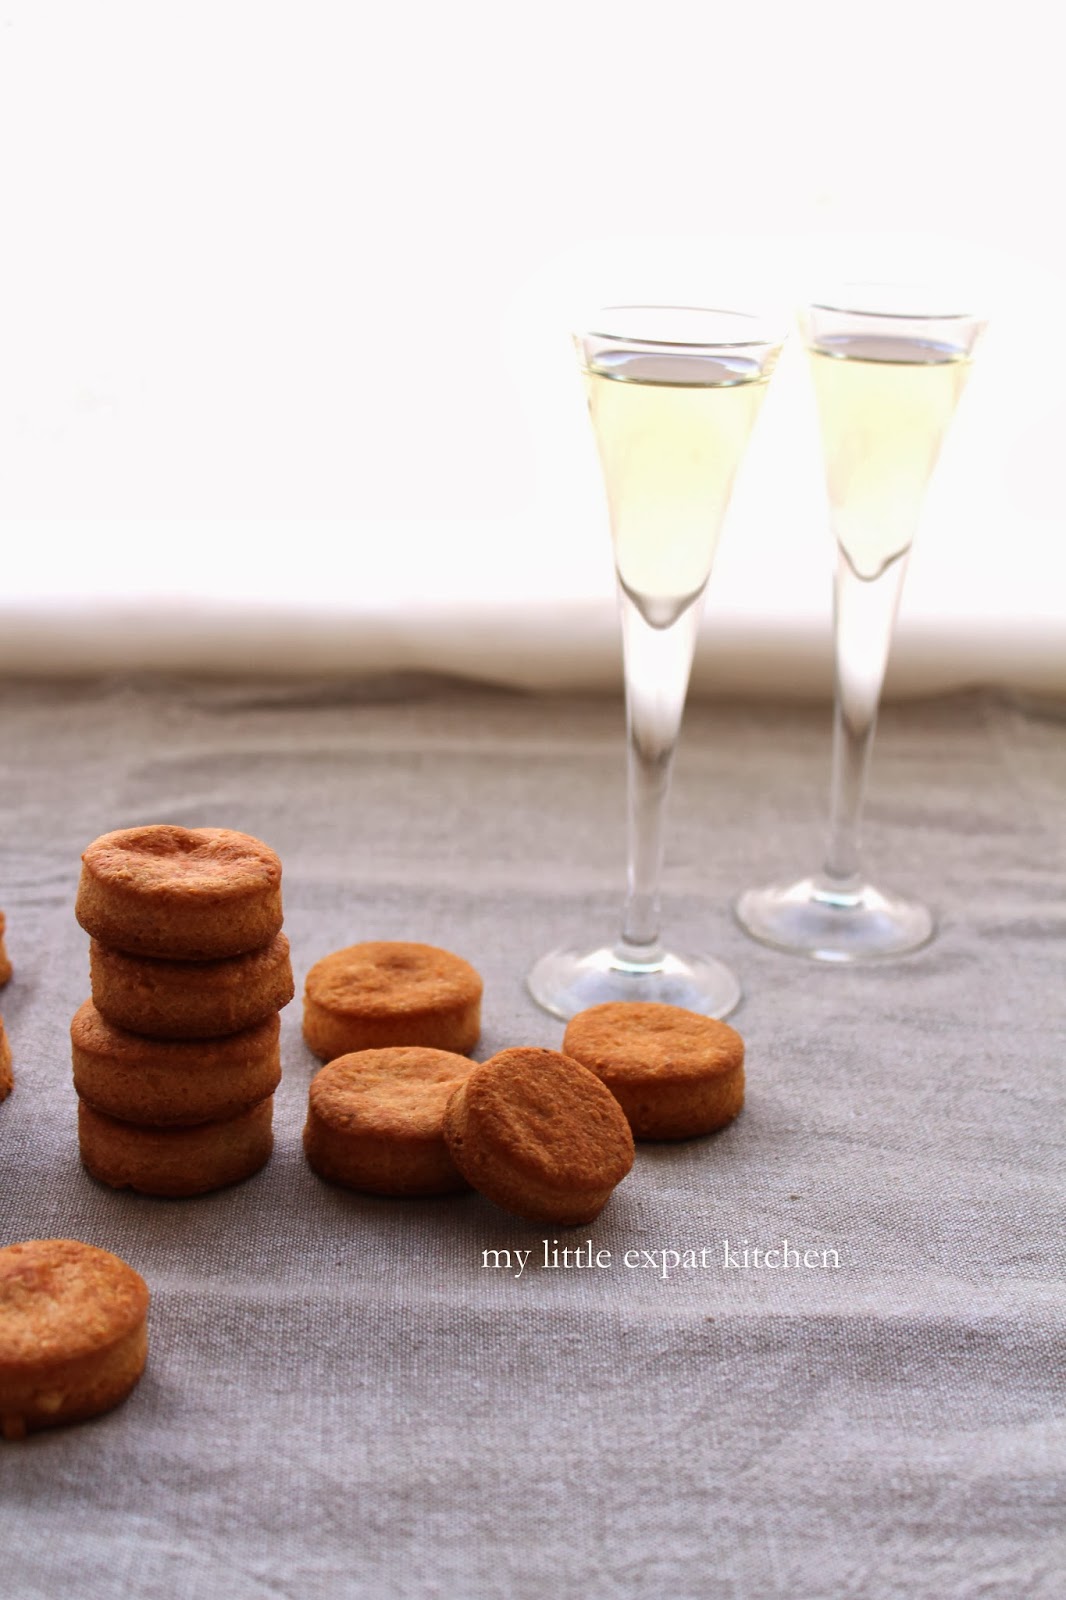
Parmesan biscuits

After the sweet cookies I shared with you this past week, I think it is time to change things up for the last post of cookie week.


I’m more of a savory kind of person than sweet, so making these parmesan biscuits and most importantly eating them, was extremely enjoyable.


I’m a huge cheese fiend and Parmesan is one of my favorite cheeses. Its mature, intense, peppery flavor is incomparable and adding it to anything from tart bases, custards to soufflés, guarantees success and a scrumptious result.


There’s nothing better than a small savory and buttery biscuit filled with the umami flavor of parmesan, crispy and flaky, paired with a glass of champagne when you arrive at someone’s home for a festive dinner.


Served with a small dollop of cranberry chutney or raspberry and onion chutney, anything having a sweet and sour taste really, it’s a perfectly balanced little hors-d’oevre, a great alternative to the same old crackers or toasted bread with cheese, and much more elegant.


Happy baking and I wish you all a Merry Christmas!!


Parmesan Biscuits

You can also serve these biscuits with fig jam or quince jelly, and a chilled dry white wine.


Yield: about 40 biscuits

Ingredients
180 g all-purpose flour
115 g unsalted butter, chilled and cubed
125 g parmesan, finely grated
1 large egg
¼ tsp sea salt
Pinch of cayenne
Freshly ground black pepper, 3-4 grinds of the pepper mill

Special equipment: rasp grater, large food processor, plastic wrap, rolling pin, baking paper, 1-2 baking sheets, round cookie cutter (5 cm diameter)


Preparation
In a food processor, add the flour and the butter and process until the mixture resembles fine breadcrumbs.


Add the parmesan, egg, salt, cayenne and black pepper and process until the mixture becomes a very rough and crumbly dough. It will not come together into a ball, but the mixture will firm up.
Empty it onto a clean work surface and bring it together with your hands, kneading for a few seconds until you have a smooth and firm dough that is a bit crackly.


Shape it into a flattened disk and wrap it with plastic wrap.
Place it in the refrigerator for 1 hour.

Remove the dough from the fridge, unwrap it and place it between two sheets of baking paper. Using a rolling pin, roll the dough out to 0.7-0.8 cm-thickness.

Line your baking sheet(s) with baking paper.

In a small bowl, add some flour and use it to dip in your cookie cutter. In this way, the cookie cutter won't stick to the dough.
Remove the top baking paper from your rolled-out dough and using your cookie cutter, cut out rounds of dough and place them on your prepared baking sheet.


Place in the refrigerator for 10 minutes to firm up and preheat your oven to 180 degrees Celsius / 350 Fahrenheit.

Note: Gather scraps of dough, roll out again, place in the fridge to firm up and then cut out cookies. Repeat until all the dough is used up.

Take baking sheet out of the refrigerator and place on the middle rack of the preheated oven. Bake biscuits for 15-17 minutes, until they take on a golden color.
Keep an eye on them so they don't catch because they will have a bitter taste.


Remove the baking sheet from the oven and place the second one in.

Transfer biscuits to a rack to cool.

They are best eaten the first and second day when they’ll be most crispy, but you can keep them up to 4 days in a biscuit tin.


Kamis, 27 Juni 2013

Pastourmadopitakia

Pastourmadopitakia means small pies made with pastourma (seasoned, air-cured beef) and they have been part of my family’s Sunday or celebratory feasts ever since I can remember. Either in the form of individual pies or the more traditional large rectangular pie that’s cut into square pieces for everyone to savor, baked or fried, made with traditional phyllo or sfoliata (puff pastry), pastourmadopitakia are part of my culinary heritage.


My mom made these while I was in Greece this May and that’s when I took these photographs. She always makes them for me whenever I visit home, she knows how much I crave and love them.


I made pastourmadopitakia the other day, just the way she makes them and they disappeared in a matter of minutes.

I hope you like them as much as we do.


On a different note: Google Reader is shutting down on July 1st which is only a few days away, and I'm really bummed about it cause I’m kind of attached to it. For those of you who follow this blog through RSS feed on Google Reader please make sure to transfer your feeds to another reader. I have been trying out a few and I found that the best ones are feedly and The Old Reader. Bloglovin’ is also easy to use and has been around for quite a while but it’s not my favorite. Make your choice soon; you don’t want miss the updates from all your favorite blogs.

See you again soon!


Pastourmadopitakia / Pites Kesarias (Greek Individual Pies with Pastourma)

This is one of the easiest recipes for Greek individual pies. If you can’t find pastourma where you live, well, use any other type of spicy cured beef you like. If you can’t find Greek Graviera cheese, use Gruyère.


Yield: 8 individual pies

Ingredients
1 sheet homemade puff pastry or ready-made puff pastry
8 slices of pastourma
1-2 vine-ripened tomatoes, finely sliced
100-150 g Greek Graviera cheese, coarsely grated
1 egg, lightly beaten, for glazing pies

Special equipment: box grater, pastry brush, baking sheet, baking paper


Preparation
Preheat your oven to 190 degrees Celsius / 375 Fahrenheit.

Line a large baking sheet with baking paper.

Lay the puff pastry on a lightly floured surface so that the widest edge is facing you and cut the pastry into 4 long rectangles. Cut each rectangle into two shorter ones so that you end up with 8 pieces of dough.


Near the bottom edge of each piece of dough, add 1 folded slice of pastourma, 1 slice of tomato and some grated cheese. Fold the dough on top to create a pocket and crimp the edges with your fingers. Place the pie on the prepared baking sheet and continue making the rest.

Brush the tops of the pies with the beaten egg and place the baking sheet on the middle rack of the preheated oven. Bake the pies for about 25 minutes or until the pastry has puffed up and has taken on a golden color.

Remove the baking sheet from the oven, allow the pies to cool slightly and serve.


Sabtu, 20 April 2013

Homemade chèvre

If someone put a gun to my head and told me to pick between savory and sweet, I would definitely go for savory. No second thoughts. There are so many options with savory food, you can make anything your heart desires, from fish and meat to pasta and every kind of salad imaginable. You can be freer, you can improvise, cook on a whim, not worry about grams and egg sizes and baking pan dimensions.


I could never live without my favorite savory dishes but I can live without sweets, well, at least for a day or two. There is something you can make though, that with the right combination, can offer you the best of both worlds. Something that can be used both in savory and sweet dishes. That is of course chèvre aka goat’s cheese. [Chèvre means goat in French]


The tart flavor of goat milk is what makes this cheese unique and the tang is what makes it pair so well with spinach and beef but also with honey and fruits.


Soft, crumbly, moist goat’s cheese is so easy to make at home that it’s crazy not to try it. The freshness, the aroma, especially when still warm, is incomparable to the mass-produced goat’s cheeses that you find at your local supermarket.


In my humble opinion, chèvre is far better tasting than ricotta or similar soft cow’s milk cheeses as it is more complex, creamy and rich due to the fact that goat’s milk has more fat than cow’s milk. And when you are lucky enough to find goat’s buttermilk and add it to the mix, it gives the cheese even more depth of flavor.


I have made chèvre many times and it always disappears from the fridge in a matter of hours. We like to smear it onto freshly toasted baguette slices or homemade barley bread drizzled with Greek extra virgin olive oil. It’s a snack that can only be surpassed by juicy tomatoes on sourdough but let’s not go there yet.


As I stated in the beginning of this post, this cheese is versatile in every sense of the word. You can add it to spanakopita or tyropita along with some good Greek feta, to this tartine, or perhaps this smoked trout and lentil salad. Crumbling it on top of pizza is an excellent idea, but so is adding it in a sweet tart with pistachios and honey. You can add some herbs like rosemary or thyme to your freshly made, supple cheese and serve it alongside crostini or grissini, or add it to an omelette which will most probably equal to the simplest, tastiest lunch you’ve had in months.


It’s just a matter of waiting; waiting for the whey to drip out, waiting for the cheese to dry. You will have to be patient, but in the end you will be rewarded with the clean, tangy taste of fresh, homemade chèvre.


Homemade Chèvre - Goat’s Cheese

The process of making this cheese is very easy but you will need a thermometer. It really helps and, if you cook a lot, it’s a good idea to buy one.

If you can’t find goat’s buttermilk which luckily I did, use cow’s buttermilk.

If you want a creamy consistency then I would advise you to let the cheese drain for 1 hour. After 2 hours it will be semi-soft and after 4 hours it will be very crumbly. Experiment, and if you end up with a more dry cheese than you’d prefer, add the whey back to the cheese, about ½ tsp at a time, folding it in until you reach the desired consistency.


Yield: about 300 g

Ingredients
750 ml fresh goat’s milk
500 ml fresh goat’s (or cow's if you can't find it) buttermilk
Juice of 1 lemon (about 60 ml)
½ tsp fine sea salt

Special equipment: candy/deep-frying thermometer, large cheesecloth or muslin cloth, fine sieve or colander


Preparation
In a medium-sized, heavy-bottomed saucepan, add the milk and buttermilk and attach the thermometer to the pan. Heat over medium-high heat and bring the milk to a temperature of 80 degrees Celsius / 175 Fahrenheit. It will take about 10 minutes to reach that temperature and at this point, the milk should bubble and start to curdle. If not, leave it on the heat until it does but don’t allow it to come to the boil.

Take it off the heat and add the lemon juice. Lightly stir with a spatula and you’ll clearly see it curdling. Don’t stir anymore and allow the temperature to drop to 55-60 degrees Celsius / 130-140 Fahrenheit. It will take about ½ hour and the curds will thicken as the temperature drops.


Line a fine sieve (or colander) with cheese or muslin cloth and set it over a large bowl to catch the whey. Slowly pour the curds into the cloth and drain the whey into the bowl. You can either save the whey for another use or throw it away. It would be good to throw it away after your cheese is ready in case it turns out too dry. By adding whey back into it, it will become creamy. Tie the top of the cheesecloth with baker’s twine, as close to the cheese and as tight as possible, and hang it somewhere in your kitchen over a bowl to catch the drippings.


Leave it for about 2 hours to have a proper chèvre consistency. (Or read notes above the ingredients list for alternatives).
Untie the twine, open the cloth and remove the cheese carefully. At this point, you can add your herbs and salt stirring them into the cheese or if you don’t want to mess with the nice ball of cheese, simply sprinkle salt over the top.

You can keep it in the fridge, inside a plate and covered with plastic wrap, for up to 1 week but if you’re anything like us, it will not last more than a day or two. Having said that, the flavor of the cheese will intensify after a couple of days in the fridge so perhaps the second time you make it, it would be worth it to leave it there to see the difference in taste.