Tampilkan postingan dengan label breakfast. Tampilkan semua postingan

Rabu, 05 November 2014

Chocolate cake with dark brown sugar

The weather has finally turned and it’s starting to feel like autumn. Rain, dark skies and all that is characteristic of Dutch cold weather is back, while raincoats, boots and woolen socks have finally replaced open-toed shoes, t-shirts and skirts.


It is that time of the year. When the warmth of the oven is again pleasant and I can’t wait to be tucked in my little kitchen, bake my favorite cakes and try new ones.


This one is a cake I have been making quite often for the last two-three years and it is so scrumptious it is difficult to keep around for more than a couple of days. It is a chocolate cake made with dark brown sugar, cocoa and dark chocolate and it is my favorite everyday chocolate cake ever.
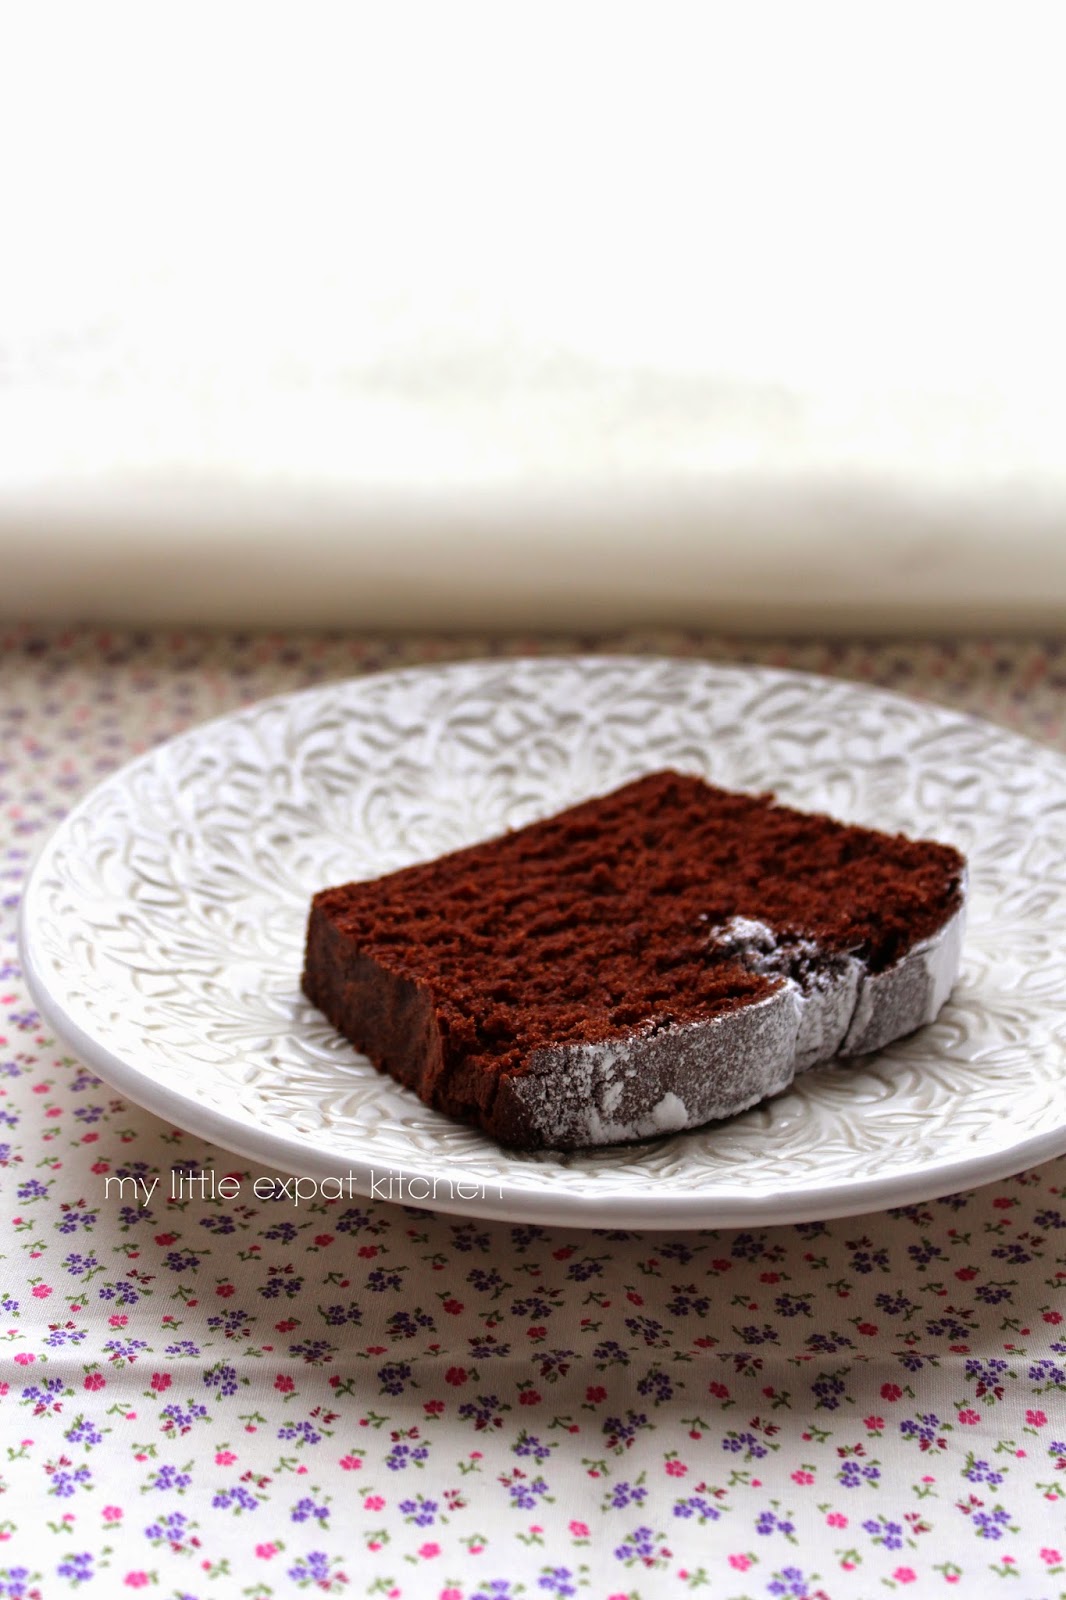

It is light and fluffy yet has a rich and deep flavor of chocolate accentuated by the molasses sweetness of dark brown sugar. Its smooth crumb and lovely crust on top, its beautiful chocolate aroma and slight moistness, makes it a perfect accompaniment to a hot cup of coffee or tea, and it is certainly ideal for breakfast before heading out to face the day or for a sweet treat in the afternoon when those sweet cravings kick in.


Chocolate cake with dark brown sugar
Adapted from here

I usually serve this plain but you can dust it with icing sugar that will cover those inevitable cracks on top, or with a patterned glaze made with icing sugar and milk.

You need to use chocolate with a high percentage in cocoa solids to balance the sweetness of the rest of the ingredients. The soft dark brown sugar makes the cake wonderfully moist and adds a level of sweetness as well as an interesting flavor, but the cake needs the bitterness of the chocolate to keep the flavors balanced.

Update 06.11.2014: Some of you have asked me about the sweetened condensed milk in the recipe. Since the cake doesn't contain a lot of sugar, the small amount of sweetened condensed milk gives the required sweetness and contributes to the cake's fluffy texture. Therefore, I wouldn't suggest you substitute it with another type of milk or cream.


Yield: 1 cake / 8-10 pieces

Ingredients
25 g Dutch-processed cocoa powder
50 ml cold water
100 ml boiling water
50 g good quality dark chocolate (70-75% cocoa solids), finely chopped
100 g unsalted butter, softened and cubed, plus extra for greasing the pan
175 g soft dark brown sugar
125 g sweetened condensed milk
2 medium-sized eggs
1½ tsp pure vanilla extract
200 g all-purpose flour
2 tsp baking powder

Special equipment: stand or hand-held mixer, sieve, loaf pan (23 x 9 x 8 cm), baking paper


Preparation
Butter the bottom and sides of your loaf pan with butter and line it with baking paper.

In a small bowl, add the cocoa powder and cold water and mix with a hand whisk until you have a smooth paste. Pour in the boiling water and whisk, then immediately add the chopped chocolate. Leave it for 2 minutes to melt and then whisk until you have a smooth mixture.


Preheat your oven to 180°C.

In the bowl of your stand mixer (or in a large bowl), add the softened butter, the soft dark brown sugar and the sweetened condensed milk and using the paddle attachment (or your hand-held mixer), beat on medium-high speed until very smooth. Add the eggs one by one, beating well after each addition. Add the vanilla and beat to incorporate.
Sieve together in a bowl the flour and baking powder. Add half of it to the egg mixture and beat on medium-high until well incorporated (about 20 seconds). Add the chocolate mixture and beat to incorporate. Add the rest of the flour and beat until smooth (for about 20 seconds). In the end you should have a very fluffy and luscious cake batter.


Empty it into your prepared loaf pan and straighten the top with a spatula or the back of a spoon.
Place the pan on the low rack of your oven and bake for 30 minutes. Then transfer it to the middle rack of the oven and bake for a further 30-35 minutes or until a cake tester or toothpick inserted in the middle of the cake comes out with just a few crumbs sticking to it.

Once ready, take the pan out of the oven and place it on a wire rack until the cake cools. Then remove it from the pan and allow it to cool completely on the rack.

Serve cake as is cut into pieces, or dust it with icing sugar (it needs to be completely cool otherwise the icing sugar will melt into the cake), or glazed with icing/frosting.

You can keep it at room temperature, covered, for 4-5 days.


Sabtu, 16 Agustus 2014

Baked eggs on top of roasted cherry tomatoes + Yummy Supper cookbook giveaway

For as long as I can remember, I disliked eggs, but then something inexplicable happened and my taste changed. I found myself craving eggs, enjoying their flavor and the infinite combinations with other ingredients that can yield delicious dishes. I’d finally discovered their versatility.


For the past couple of years, I have become an egg enthusiast and S, an eternal egg fiend, is finally getting his fill of fried, poached and soft-boiled eggs.


I hadn’t ventured the world of baked eggs though. Not until Erin Scott introduced me to her recipe of baked eggs with cherry tomatoes found in her amazing upcoming book “Yummy Supper: 100 Fresh, Luscious & Honest Recipes from a {Gluten-Free} Omnivore”. Was I in for a treat!


Erin is an American from Berkeley in California and she’s one of the food bloggers I admire the most. Her beautiful recipes, her keen eye for food styling and her incredible ability to take the most amazing photographs of her dishes is enviable. She is honest and straightforward in her cooking and writing and her book reflects just that. Elegant dishes prepared in an unfussy manner; inviting recipes meant to be cooked in a relaxed way and shared with family and friends; food that is impressive and luscious yet not intimidating for the home cook. Her recipes are also gluten-free, but you will not find in the book any weird ingredients that are hard to source. Congratulations, dear Erin. Your book is awesome!


Eggs and tomatoes is a marriage made in heaven, especially during tomato season when they are sweeter and juicier than ever. Here, first the cherry tomatoes are roasted briefly in the oven until they start releasing their sweet juices and then they get a good sprinkling of grated parmesan, pepper and parsley. The eggs are cracked carefully on top and then in the oven they go for a few minutes until they set. A final sprinkling of parsley and a drizzle of olive oil and they are served, preferably with some good crusty bread to dunk into the glorious juices, or as Erin suggests, with some big buttery croutons or polenta fries (both recipes found in her book).


I served this for brunch but it would also make a lovely, light supper, or if you are a big breakfast person (sadly I’m not), it would be a delicious way to start your day.


Giveaway: I was honored to receive a copy of Erin’s book and I am happy to give away a copy for one of you!
What you need to do to enter, is leave a comment on this post, telling me what type of recipes you would like to see featured more on my blog. Would you like to see for example more Greek recipes? More desserts? How about meat-based or vegetarian recipes? Easy or more intricate recipes? Feel free to share.

The giveaway ends on August 26th, 11:59 pm CET (Central European Time). I will select a winner at random and will announce the name on this post the next day (August 27th).
One comment per person on either of my blogs (English or Greek), no anonymous comments please, and do write your email address in the comment so I can contact you if you win.
Also, the giveaway is open to Europe and US residents only.

Good luck!!


The giveaway has ended. I will announce the winner on August 27th!


The winner is 'Αντρη from my Greek blog. Congratulations!!

Update 03.11.2014: Unfortunately, due to the fact that the winner's address could not be reached by the courier company, I had to pick another winner through random.org. The new winner of the book is Pepi from Athens, Greece. Congratulations Pepi!


Baked eggs on top of roasted cherry tomatoes
Slightly adapted from Erin Scott’s Yummy Supper: 100 Fresh, Luscious & Honest Recipes from a {Gluten-Free} Omnivore

I normally would cook the eggs runny but my guests preferred them on the hard side. Cook them to your liking but runny are best.

Erin uses basil instead of parsley but you should know my feelings towards basil by now; it's my least favorite herb. Also, I added more cherry tomatoes (Erin adds 3 cups), and more olive oil (Erin adds 2 Tbsp) because I’m Greek and I need to add more olive oil.


Yield: 2-4 servings

Ingredients
4 full cups (about 650 g) fresh, sweet cherry tomatoes, cut in half
¼-½ cup grated parmesan
Fleur de Sel (or other flaky sea salt)
Freshly ground white pepper
A handful of fresh parsley leaves, chopped
3-4 Tbsp olive oil, plus extra for serving
4 large eggs, at room temperature

Special equipment: rasp grater, small baking dish (mine was about 25x20 cm)


Preparation
Preheat oven to 200 degrees Celsius.

Add the halved cherry tomatoes to the baking dish and place on the middle rack of your preheated oven. Roast for 20-25 minutes or until the tomatoes start releasing their juices and have wrinkled. Take the baking dish out of the oven. (At this point, Erin suggests pouring out some of the excess tomato juices if you wish but I didn’t and it was a good thing as we were left with lots of sweet juices to dunk our bread in).


Sprinkle the tomatoes with the grated parmesan, a couple pinches of Fleur de Sel, some ground white pepper and ¾ of the parsley leaves. Drizzle with the olive oil and crack the eggs carefully on top, spacing them apart. If you are unsure of your egg-cracking skills and worried that you might break them, crack them open first into a ramekin and then carefully slide them on top of the tomatoes.

Return the dish to the oven and bake for 8-10 minutes depending on how you like to eat your eggs.

Take the dish out of the oven, sprinkle with some salt, pepper and the rest of the parsley, drizzle with a dash of olive oil, just enough to make the eggs glisten, and serve immediately with lots of good bread.

Enjoy!


Rabu, 23 April 2014

Tsoureki french toast x 2


Hello everyone and Christos Anesti to my fellow Greeks!
I hope you all had a good Easter with lots of good food and company.


My Easter was filled with lamb, roast potatoes, eggs and salads of all kinds, with wine and tsoureki and koulourakia and the expected food coma that comes afterwards, when all you can do is lie on the couch, motionless.


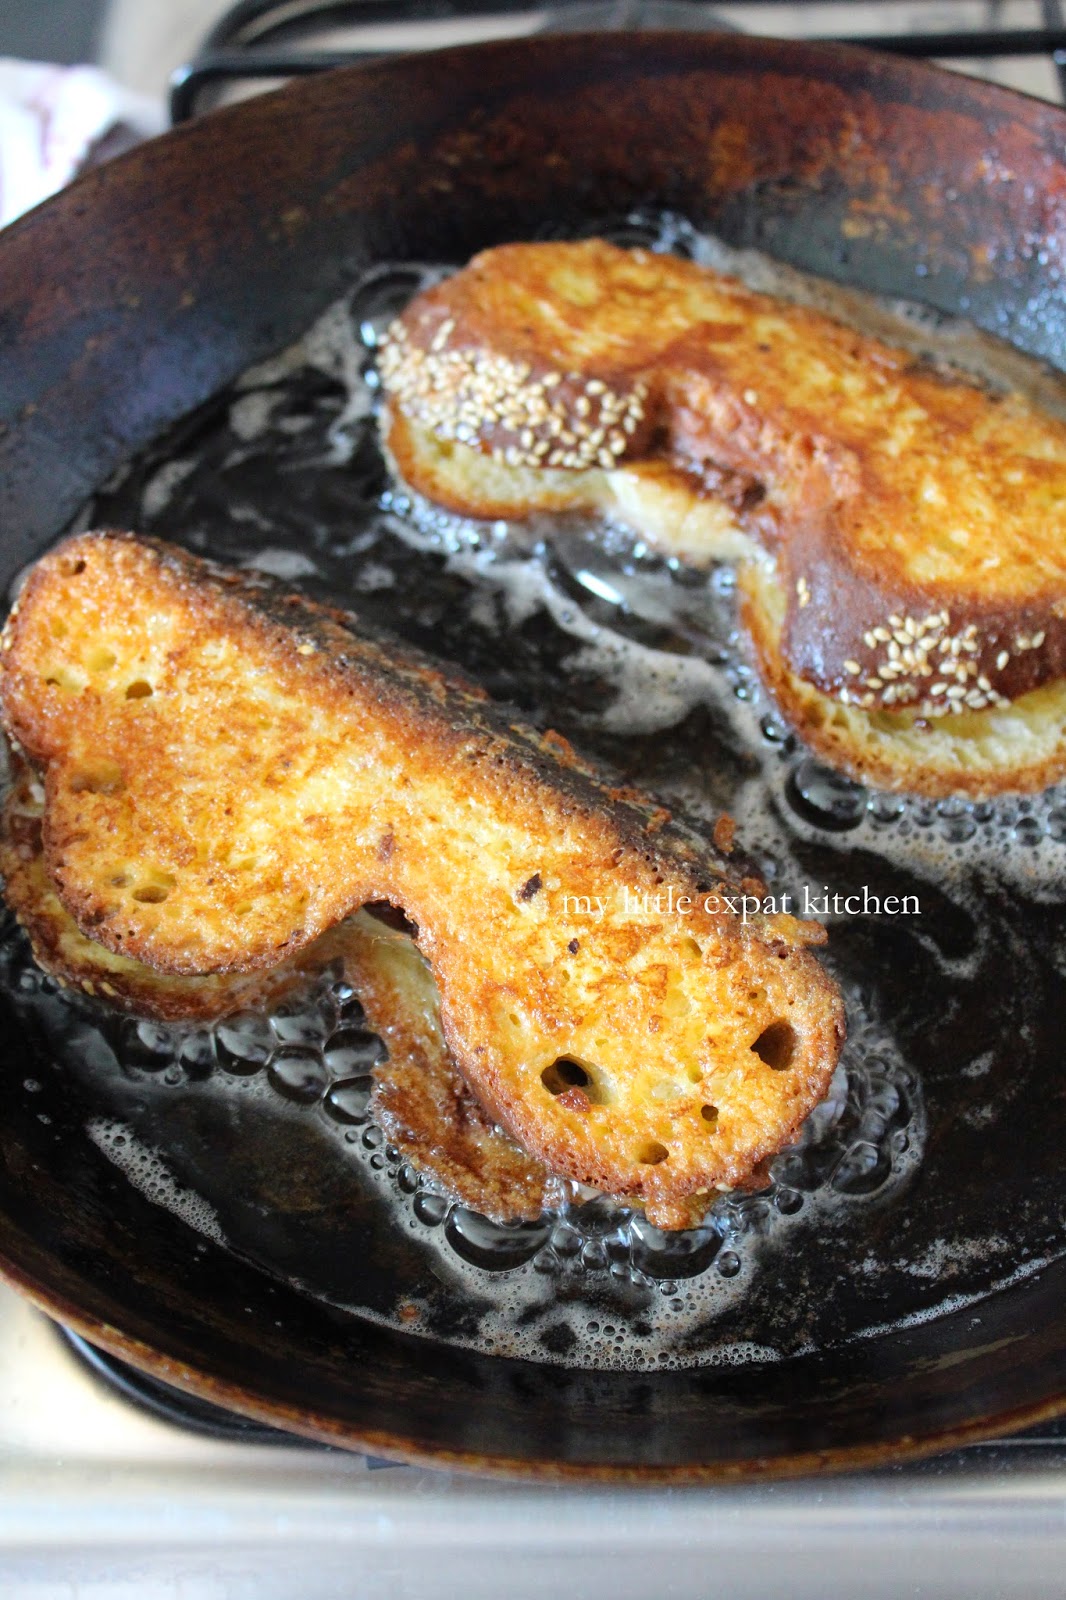
The next day though, hunger strikes again, as it always does, and the leftover tsoureki (Greek Easter sweet bread) gets a second life. The act of making French toast ensues and that’s exactly what happened on Easter Monday.


My tsoureki was not that sweet, I added less sugar this year, so the addition of ripe bananas and nutella was the perfect thing to do. Besides, who can possibly resist the image of Nutella oozing out of two pieces of fried bread?


Needless to say, the combination of hazelnut, chocolate and banana is out of this world, but the mahlepi and mastiha in the tsoureki elevated this filled French toast to a whole new level of deliciousness. To make things even better (or worse, depending on who you’re talking to), I also added some Frangelico, a hazelnut liqueur, in the eggs and milk mixture and it really brought out the nuttiness in the nutella, giving the French toast a lovely flavor.


Nevertheless, my all-time favorite way to eat French toast, or avgofetes (αβγοφέτες) as we call them in Greece, is simply by drizzling them with Greek honey, preferably thyme honey and dusting them generously with ground cinnamon. That, to me, is the quintessence of simplicity.
So take your pick and enjoy your left-over tsoureki bread or any other type of bread you have around the house.


Avgofetes Tsourekiou me Meli kai Kanela (Tsoureki French Toast with Greek Thyme Honey and Cinnamon)

My Politiko tsoureki is ideal for French toast because it retains its structure when it gets stale and has a well-browned crust and robust crumb.
You can substitute of course with other types of sweet bread like brioche or challah, or any other type of non-sweet bread. The staler the bread, the better it is as it will soak up more of the egg-milk mixture.


Yield: 4 servings

Ingredients
2 large eggs
50 ml fresh milk, full-fat
8 thick tsoureki bread slices (or any other bread you have on hand, sweet or not)
Sunflower oil, for frying
Greek thyme honey or other runny honey of your choice, for drizzling
Ground cinnamon, for sprinkling


Preparation
In a deep and wide plate, add the eggs and milk and beat with a fork.

In a large frying pan, add enough sunflower oil to cover the base by about 1 cm and heat over medium heat.

Dip the bread slices in the egg-milk mixture, soaking them well on both sides and then add them one by one to the hot oil. Add as many slices as the pan fits. Fry them 2-3 minutes on each side or until cooked through and browned, and transfer them to a plate covered with paper towels to absorb the extra oil. Continue frying the rest.

Place the bread slices on a plate, drizzle with as much honey as you want and dust with cinnamon.
Enjoy while still hot.


Tsoureki French Toast Filled with Nutella and Banana

If you use tsoureki or any other sweet bread for this, choose a banana that is not too ripe, whereas if you use regular bread, choose a very ripe banana for extra sweetness.


Yield: 2 servings

Ingredients
4 thick tsoureki bread slices (or any other bread you have on hand, sweet or not)
2 large eggs
50 ml fresh milk, full-fat
1 Tbsp Frangelico or other hazelnut liqueur (optional)
Sunflower oil, for frying
Nutella or other hazelnut-chocolate spread
1 large ripe banana, sliced on the diagonal


Preparation
In a deep and wide plate, add the eggs and milk and beat with a fork. Add the Frangelico (if using) and whisk to incorporate.

In a large frying pan, add enough sunflower oil to cover the base by about 1 cm and heat over medium heat.


Using the 4 slices of bread, make two sandwiches by spreading as much or as little Nutella as you want on one slice of bread, top with banana slices in one layer and then top with the second slice of bread.

Dip the sandwiches in the egg-milk mixture, soaking the bread slices well and then add them one by one to the hot oil. Fry for 2-3 minutes on each side or until cooked through and browned, and transfer them to a plate covered with paper towels to absorb the extra oil.

Serve immediately while the nutella oozes out of the sandwich.


See also this Tsoureki bread and butter pudding with strawberries, vanilla and currants.


Rabu, 15 Januari 2014

Pear and vanilla honey

Pears were never my favorite fruit. That slightly grainy and at the same time slippery smooth texture put me off. S on the other hand, loves them. From autumn till late winter, pears adorn our oversized fruit bowl and he always seems to munch on them after dinner.


I can’t say that I have somehow miraculously converted to eating them, but this recipe made me reconsider my relationship with the fruit. Let me introduce you to the pear and vanilla honey and to make things clear, it doesn’t contain honey. This is like a jam but with a honey consistency. And it is dreamy.


The idea of making this came from an experiment I made a long time ago with apples. I wanted to make apple jelly but ended up making apple honey. It never occurred to me to apply the process to other fruits but when I had some Conference pears staring at me from the fruit bowl, the decision was made. Pear honey it was.


I made it a couple of times since that first time and S polishes off a couple of small jars all by himself. As for me, it is something I go for in the mornings instead of my beloved strawberry and raspberry jams. That speaks volumes about how good it is.


What you do is simple. You add some chopped pears to a pan along with a split vanilla bean and a little lemon juice. You simmer until the pears soften and the smell is sweet and tempting and then you purée the whole lot. You add sugar, simmer for a while longer until it thickens and bubbles like amber-colored lava, and you’re done.


It is incredibly aromatic and not very sweet, with the right amount of acidity from the lemon and a spicy quality from the vanilla. With a smooth and ever-so-slightly grainy texture from the pear, it flows like honey without the stickiness.


I made brioche the other day and when I smeared some of the pear honey over a thin slice, it was magical. It was what breakfast dreams are made of. A couple days ago though, when I was craving a savory nibble, I paired the pear honey with mature Gruyère cheese and some crusty bread, and I was enchanted by the combination of savory and sweet.


Pear honey, you are a wonderful thing.


PS. I need to share the recipe for this brioche bread, soon.


Pear and Vanilla Honey

I used Conference pears; the most common European pear. Their flesh is grainy, sweet and juicy and perfect for this pear honey.
Use ripe but not overripe pears.

By the way, the pear honey is a perfect pair to these Parmesan biscuits.


Yield: about 600 g (3 small jars)

Ingredients
1 kg whole pears, peeled, cored and roughly chopped (about 750 g after peeling)
Juice of 3 lemons (130-140 ml)
300 ml water
1 vanilla bean, split
390 g caster sugar (less or more depending on the amount of pear purée you end up with, read on recipe for details)

Special equipment: medium-sized, heavy-bottomed pan with lid, immersion or regular blender, fine sieve, measuring jug, glass jars with lids


Preparation
Add the peeled, cored and chopped pears to a medium-sized, heavy-bottomed pan (I use a Dutch oven) along with the lemon juice, water and split vanilla bean. Stir and bring to the boil over medium-high heat. Then, cover the pan and simmer over low heat for 10 minutes. Uncover the pan and continue to simmer for a further 15 minutes, or until pears are soft, stirring from time to time.


Remove the split vanilla bean carefully from the pan, scrape out the seeds carefully (the bean will be hot) and add them to the pear mixture.
Using an immersion blender, purée the mixture in the pan until smooth. If you’re using a regular blender, transfer the pear mixture little by little to it and blend until smooth.


Press purée through a fine sieve and into a measuring jug and write down how many ml of purée you have. Return purée to the pan and add the sugar. You must add 275g of caster sugar for every 600ml of purée. My purée was 850ml so I added 390g of caster sugar.


Place pan over low heat and stir the mixture until the sugar dissolves. Turn heat up to high and boil for 15-17 minutes, stirring often, until the mixture thickens and becomes like very very thick syrup that holds its shape when spooned onto a cold plate.

Pour the hot jam into small sterilized jars and turn the jars upside down. (Read here on how to sterilize glass jars). Once the jam has cooled completely, put the jars in the refrigerator. It’s better to leave the jam sit for a couple of days before you try it. It will give it time to develop in flavor.

The jam will keep for about 3 months in the fridge. Once opened, it will keep for 1 month.